NVMe SSDs offer blazing-fast performance that makes the computing experience faster, but sometimes, we don’t tap their full potential. With a few tweaks and adjustments to settings, your SSD can deliver improved performance and a longer lifespan—so, don’t settle for less than what your hardware can deliver.
6
Update the Drivers and NVMe Firmware
Outdated drivers are often the silent performance killers of high-end hardware. Your NVMe drive might be limping along with generic drivers that don’t take advantage of its capabilities.
Unlike older SATA drives, modern NVMe SSDs require specialized drivers to fully utilize their potential. Many of us assume Windows automatically installs the optimal drivers, but that’s not always the case. The default Microsoft drivers work, sure, but they’re sometimes designed for compatibility rather than peak performance.
Check if your storage controller drivers need an update in Windows Device Manager. You can also check if a firmware update is available for your NVMe. To do that, you will have to visit your SSD manufacturer’s website.
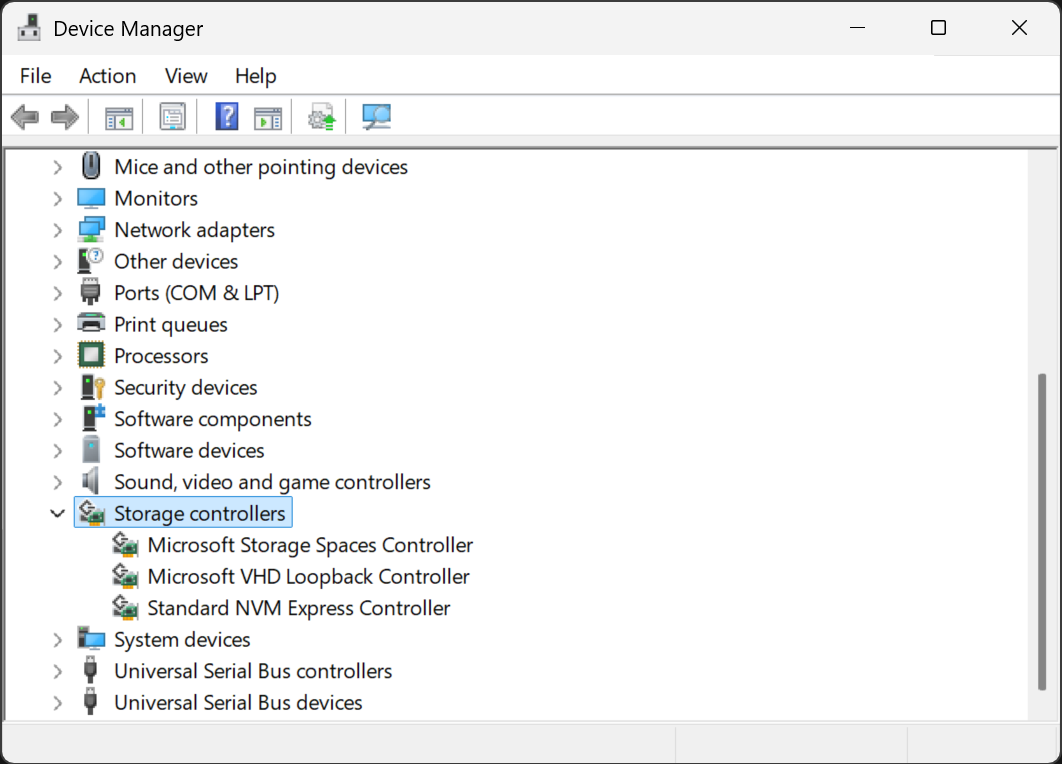
Companies like Samsung, Western Digital, and Crucial regularly release optimized firmware and drivers that can improve read and write speeds and reduce latency. These updates often fix bugs that cause inconsistent performance as well.
Installation is typically straightforward—just download the package, run the installer, and restart your computer. Some manufacturers provide their own SSD management software that automatically handles driver updates. These tools are worth installing as they’ll notify you when new optimizations become available.
Don’t expect miracles from a driver and firmware update alone, but it’s one of the fundamental steps in any NVMe optimization process.
5
Make Sure Your NVMe Is Running in the Correct PCIe Mode
Your NVMe drive will not operate close to its advertised speed if it’s running in the incorrect PCIe mode. This can occur when a PCIe 4.0 drive is operating at PCIe 3.0 speeds without you being aware of it.
First, check your motherboard’s NVMe slots and whether it supports the same generation as your drive. The speed difference between PCIe 4.0 and PCIe 5.0 is significant, and running your drive in a lower-generation slot severely limits performance.
To verify your drive’s current operating mode, download CrystalDiskInfo and check the Transfer Mode field. If your Gen4 drive shows “PCIe 3.0 x4” instead of “PCIe 4.0 x4,” you’re missing out on substantial performance. Common culprits include outdated BIOS, using the wrong motherboard slot, or having the wrong BIOS settings enabled.
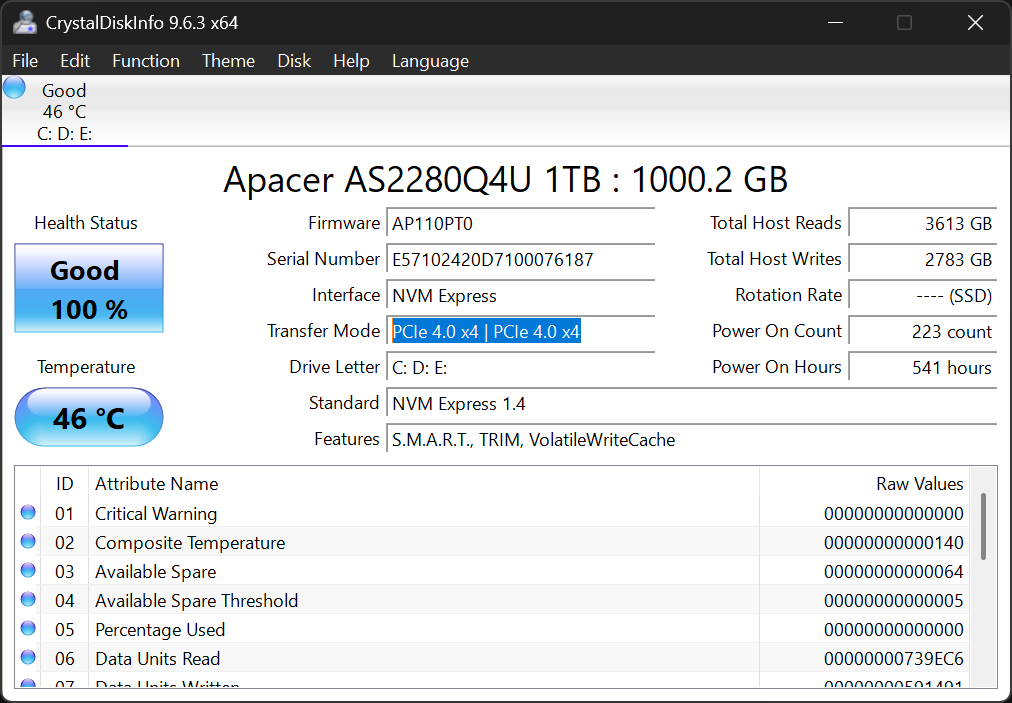
Don’t confuse CrystalDiskInfo with CrystalDiskMark. The former displays drive health and connection information (including PCIe mode), while CrystalDiskMark is a benchmarking tool used to measure actual read and write speeds. However, you’ll need both tools for a complete picture of your NVMe drive’s status and performance.
4
Enable TRIM to Keep Your NVMe Running Smoothly
TRIM is one of the important features that many people overlook, yet it’s essential for maintaining your NVMe’s performance over time. Without TRIM, your drive will gradually slow to a crawl as it fills up with data, even data you’ve technically “deleted.”
Unlike traditional hard drives, NVMe drives can’t simply overwrite existing data. They need to erase cells before writing new data, which creates overhead. TRIM solves this by telling your drive which data blocks are no longer in use, allowing it to clean house during idle time rather than when you’re actively trying to save files.
Enabling TRIM can also prevent your SSD from dying prematurely. Luckily, Windows 10 and 11 typically enable TRIM by default, but it’s always worth verifying.
When TRIM is active, deleted files become much harder (often impossible) to recover. It can be beneficial for security, but it’s not ideal if you accidentally delete important files.
Here’s how to check and enable TRIM:
- Open Command Prompt as an administrator by searching for “cmd” in the Start menu.
- Right-click on the app and select Run as administrator.
- Type fsutil behavior query DisableDeleteNotify and press Enter.
- If the result is “DisableDeleteNotify = 0,” it means TRIM is enabled, but if it shows “DisableDeleteNotify = 1,” it means TRIM is disabled.
- If TRIM is turned off, type fsutil behavior set DisableDeleteNotify 0 in the same administrator Command Prompt to enable it.
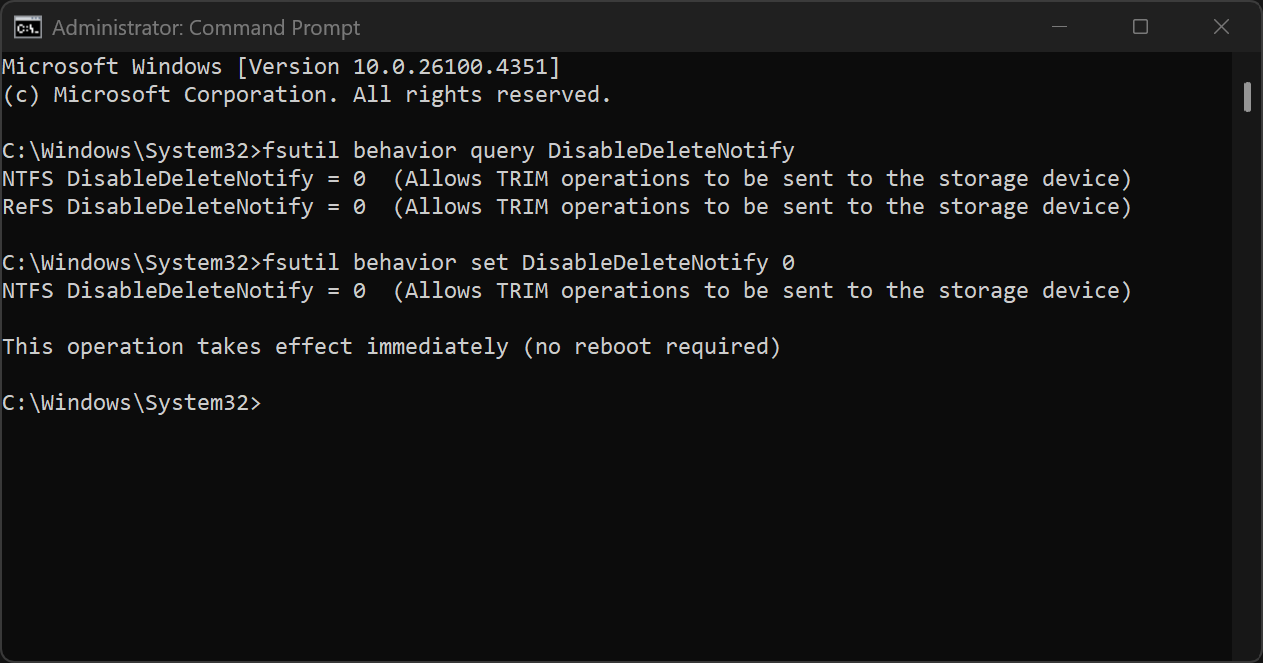
You don’t need to manually run TRIM commands on a schedule, as Windows handles this in the background. But if you’re transferring massive files daily or running disk-intensive applications, your drive could benefit from more frequent TRIM operations.
3
Adjust These Windows Settings for Maximum Speed
Windows itself has several settings that can impact the performance of your NVMe. Let’s be honest, these Windows tweaks won’t transform your NVMe drive into something dramatically faster. The performance gains are minimal compared to others. That said, these optimizations are worth implementing to get maximum performance from the drive.
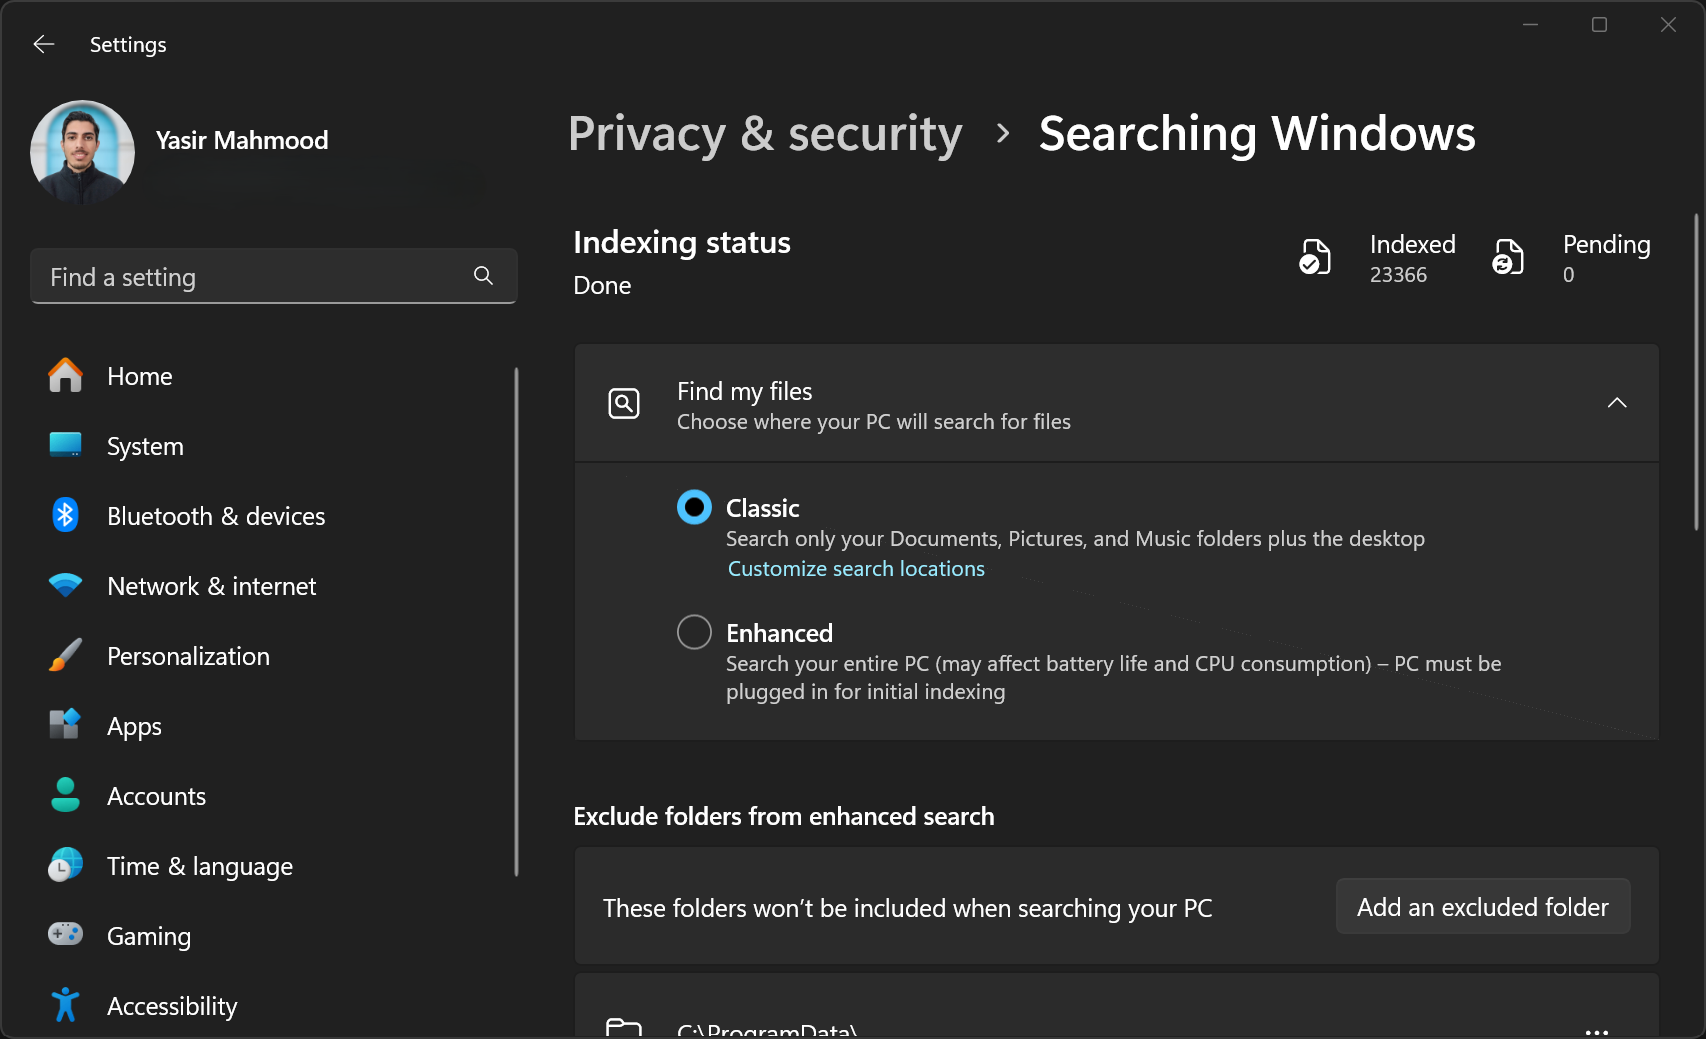
First, check the Windows Search Indexer, as it can be a performance drain. While useful for quickly finding files, it constantly writes to your SSD, which can have an impact on its lifespan and performance. You can disable the Windows Search Indexer, especially if it’s just for games or applications, which can free up resources and reduce unnecessary wear.
Additionally, you may want to adjust the Windows power plan as it often defaults to “Balanced.” This throttles performance to save energy, not what you want for a desktop PC with a high-performance NVMe. Switching to “High Performance” removes these limitations, allowing your drive to operate at full speed without random throttling.
Virtual memory settings, specifically Pagefile.sys, also deserve attention. Even with 16GB or more of RAM, Windows still creates a paging file on your system drive. You can reset the Windows virtual memory by moving it to a secondary drive (if available), or properly sizing it can prevent your NVMe from wasting write cycles on temporary data.
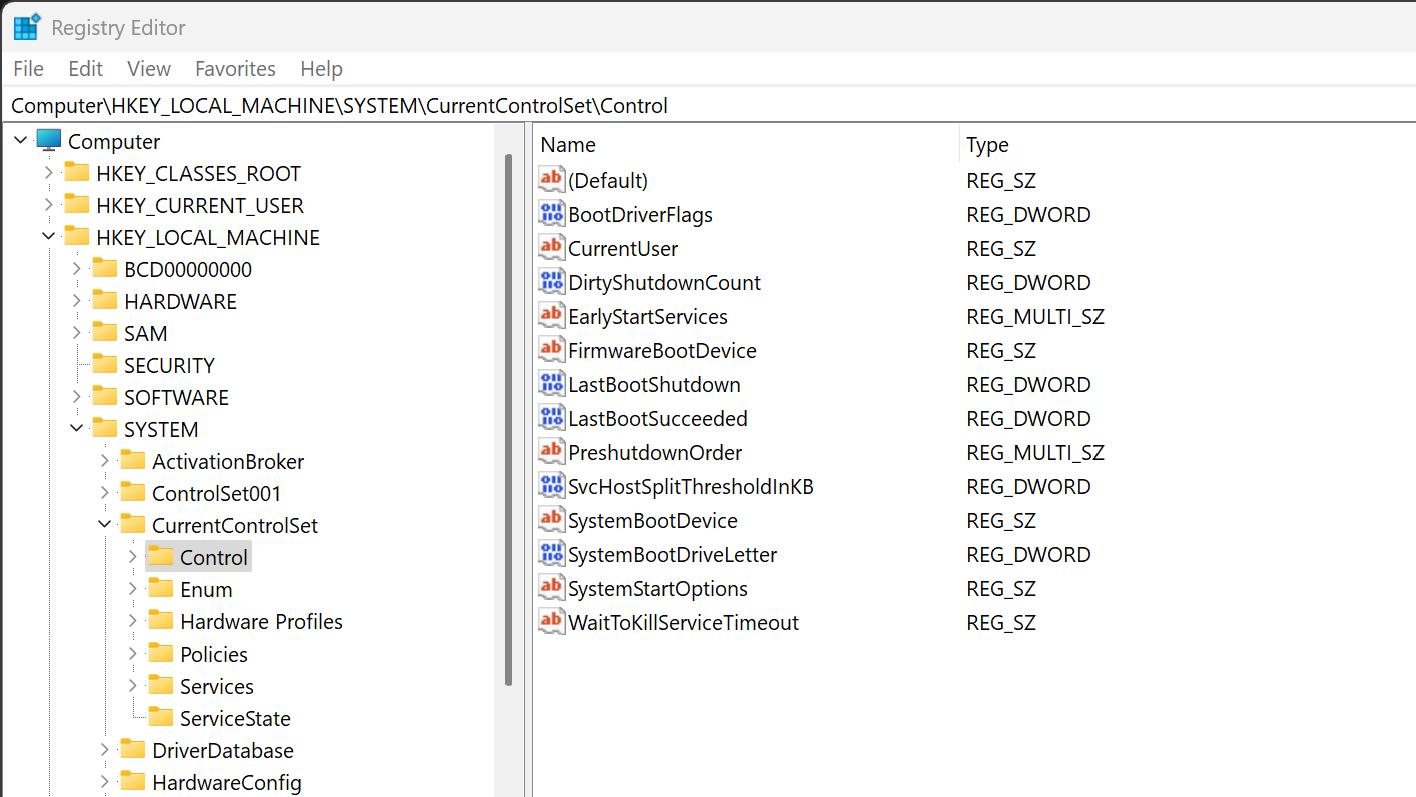
For those comfortable with advanced tweaks, the Windows Registry holds several NVMe-specific optimizations. Adjusting storage-related parameters, such as NVMe timeouts and command queuing, can yield performance improvements. However, proceed with caution and always back up the registry before making changes.
2
Monitor NVMe Temperatures to Prevent Throttling
NVMe drives run hot—much hotter than their SATA counterparts—and excessive heat kills both performance and longevity. Once your drive hits around 70°C (158°F), it starts throttling speeds to prevent damage, which defeats the purpose of having high-performance storage in the first place.
I’ve observed that my Apacer PCIe 4.0 NVMe temperatures spike during heavy file transfers, resulting in throttling. It occurs automatically without any warnings. Tools like HWiNFO64 or CrystalDiskInfo, as mentioned earlier, provide real-time temperature monitoring, allowing you to catch these issues before they impact performance.
Download: HWiNFO64 (Free)
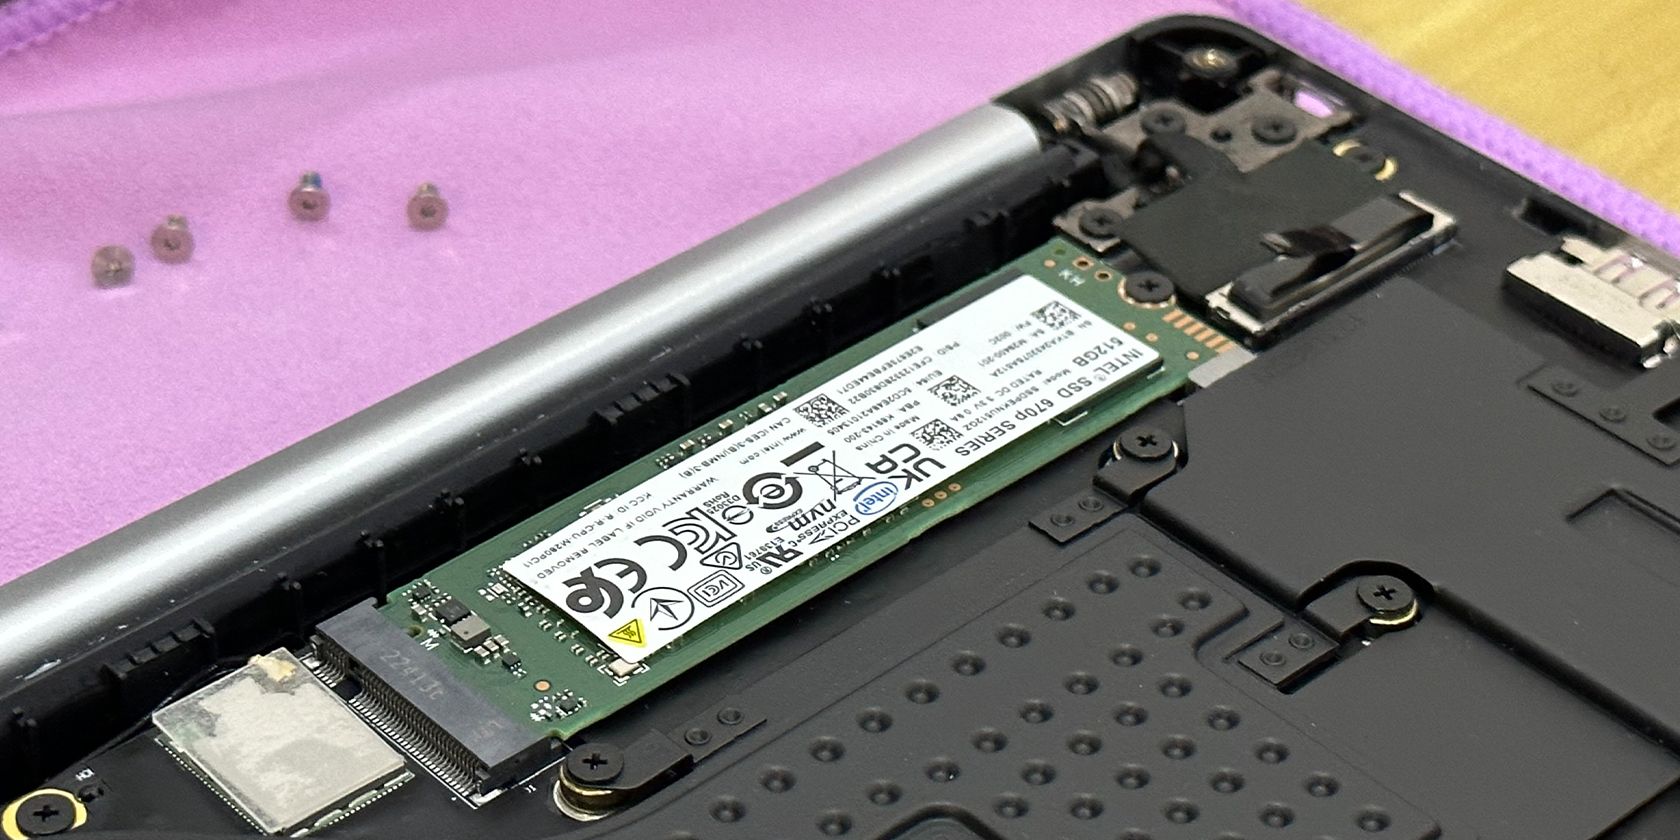
The simplest solution is to add an M.2 NVMe Heatsink to your NVMe drive. These inexpensive accessories improve heat dissipation, and faster NVMe SSDs often come with a heatsink. But if you’re using a laptop where adding a heatsink isn’t possible, consider improving general airflow or using a cooling pad.
Related
What Is an M.2 NVMe SSD Heatsink?
The concept of an M.2 SSD heatsink is actually wider than you think, but the same can’t be said about its usefulness.
1
Run These Benchmarks to Verify Your Improvements
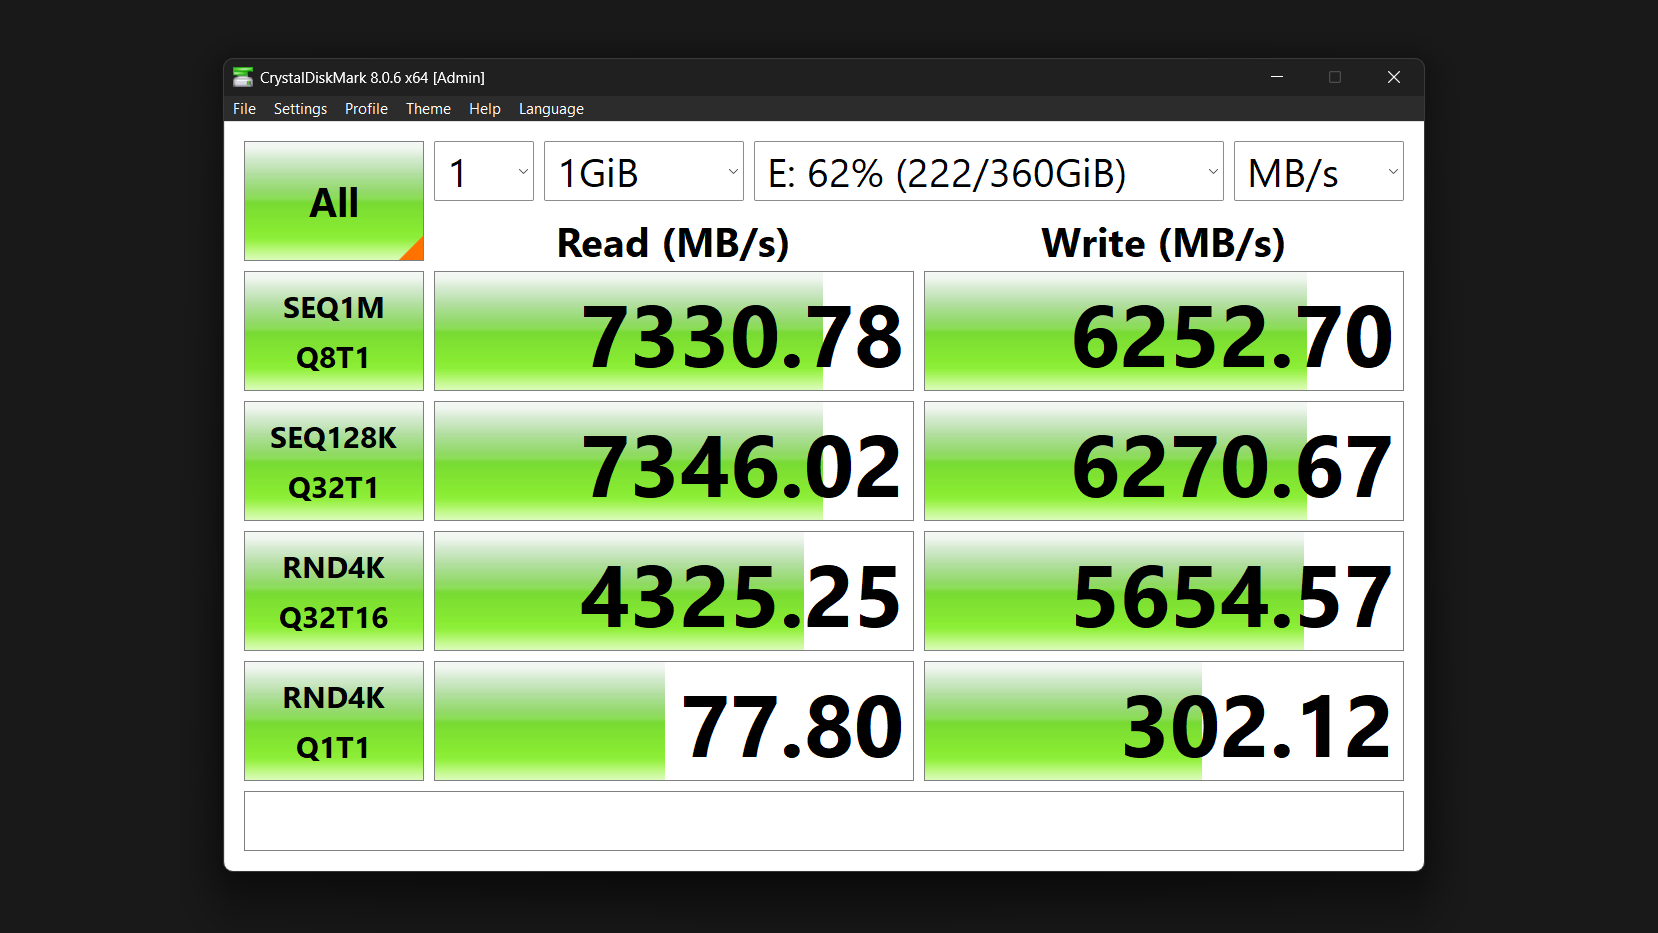
After implementing all these optimizations, you need to verify they’re actually making a difference. CrystalDiskMark is my go-to tool to test NVMe speed and performance. It’s straightforward and provides comprehensive metrics for sequential and random read and write speeds, the latter being more important for everyday tasks. Run it before making any changes to establish a baseline, then again after each major optimization to track improvements.
The “SEQ1M” test measures sequential read and write speeds with large files—this matters for transferring movies or large datasets. “RND4K” tests, meanwhile, measure how quickly your drive handles small, random data—what matters most for booting Windows or launching applications.
On the other hand, the “Q” and “T” values indicate queue depth and thread count, respectively. Higher numbers simulate heavier workloads, such as video editing, while Q1T1 represents everyday tasks like web browsing.

Related
This Is Why I Regularly Benchmark My Hardware, and You Should Too
It sounds odd, but it’s so worthwhile.
Don’t obsess over minor variations, as benchmark results can fluctuate by 5% between runs. Look for consistent and significant improvements across multiple tests to confirm that your optimizations are working.
Optimizing your NVMe SSD isn’t just about chasing benchmark numbers; it’s also about ensuring you’re getting what you paid for. Implement these tweaks, and you’ll likely see noticeable improvements in everyday tasks. Your PC will feel more responsive, files will transfer faster, and you might even extend your drive’s lifespan in the process.


