If you’re looking for fun and simple projects that you can do on your Raspberry Pi, these are perfect for you. Each should take under an hour to complete, and they all offer quite a bit of functionality for anyone wanting to learn more about their Pi.
Sometimes it’s easy to think that Raspberry Pi projects can take hours, days, or even weeks to complete—there are a lot of complicated projects out there. However, sometimes you can get a great service up and going in less than an hour.
7
Home Assistant

Home Assistant is one of those services that I think every self-hosting homelabber should run. It’s a simple project to get up-and-running, yet it does so much.
To properly run Home Assistant, you’ll want a Pi with at least 2GB of RAM (so a Pi 4 would work great). The nice thing is, Home Assistant actually has a dedicated Pi image that you can flash directly. It’s pre-configured and ready-to-go with minimal setup required. In fact, the image is built into the native Raspberry Pi Imager application.
This allows you to have Home Assistant up and running in just a few minutes, really. Once installed and booted, you’ll be ready to configure your smart home devices and enjoy local control of lights, switches, and much more. Oh, and if you weren’t aware, Home Assistant can bring non-HomeKit devices into HomeKit (which is what I primarily use it for).

Related
What Is Home Assistant? And Why Isn’t Everyone Using It?
Get to know this open-source locally-controlled smart home platform.
6
Pi-hole

Pi-Hole is a content blocked designed to run on a Pi (hence the name). The content blocker can be set to block all types of content, from adult sites to specific services and more. It’s up to you what it blocks.
Setting up Pi-hole is actually pretty straightforward. You simply have to run a single command in the terminal on your Pi. I typically do it over SSH, but you can do it with a display attached to the Pi just the same.
The command you have to run is: curl -sSL | bash. This will download the Pi-hole installation script and run it in one command. There are some configuration options you need to go through during setup, but that’s about it.
In total, Pi-hole should take less than 10 minutes to get up and running on your Pi. All you have to do once the service is started is point your computer (or router’s) DNS at the Pi’s IP, and your network traffic will then filter through its content blockers.

Related
7 Things I Wish I Knew Before Running a Pi-hole
Don’t be like me, make sure to prepare for these things before deploying Pi-hole the first time.
5
RetroPie

RetroPie is a project designed to convert your Raspberry Pi into a retro gaming machine. This project takes a little more time to configure, as you’ll have to find (or make your own) ROMs for it.
However, the actual installation of RetroPie is nice and simple. Just like Home Assistant, RetroPie is available through the Raspberry Pi Imager, meaning it’s a one-click install.
Once you have the image flashed and RetroPie running, the fun begins as you can start to load up your choice of retro games to play.

Related
Batocera vs. RetroPie vs. Lakka: Which Retro Gaming OS Should You Use?
We look at three of the most popular retro gaming OS options available and what makes them different.
4
Docker Container Host

Docker is a service that runs various other services within individual containers. The Docker host itself can be just about any computer, with a Pi being a great choice.
Getting Docker up and running on your Pi takes a little more work than the previous programs, but is still definitely doable in under an hour. If you’re running a modern 64-bit Pi, then simply follow Docker’s Debian installation instructions.
Once you have Docker configured, then you can install just about any other service you want within the container environment. I personally run both Pi-Hole and Home Assistant as Docker containers in my setup, and you can definitely do that too.

Related
10 Docker Containers Every Homelabber Should Run
How many of these containers do you already run?
3
PiVPN
PiVPN is designed to let you VPN into your network with ease. Requiring just a single command to install, you should be up and running with PiVPN in under 10 minutes.
In your Raspberry Pi’s terminal (either on-device or SSH’d in), just run the following command: curl -L | bash. Just like with Pi-hole, this will download the installation script and run it with a single command.
Once PiVPN is installed, you’ll need to open a port on your router to be able to VPN in from other networks, but this isn’t always required, depending on your setup.

Related
What Is a VPN, and Why Would I Need One?
Do you need a VPN to be safe on the internet?
2
Nextcloud

Nextcloud is a service that’s designed to replace Google Drive, Dropbox, or any other cloud storage provider that you might use. It keeps your data stored locally instead of on a remote server, and also offers more advanced features if that’s something you’re after.
NextcloudPi is a project designed to make deploying Nextcloud a simple experience. As a pre-configured image, you can simply download the NextcloudPi operating system and flash it to your Pi’s microSD card.
It should take just a few minutes for that process to finish. The configuration begins. Nextcloud can be a little daunting to configure, but the NextcloudPi image makes it quite simple to get up and going.

Related
How to Self-Host a Collaborative Cloud with Nextcloud and Docker
Nextcloud is an open-source file-sharing and collaboration platform to rival services like Google Workplace and Microsoft 365.
1
Wireless Printing
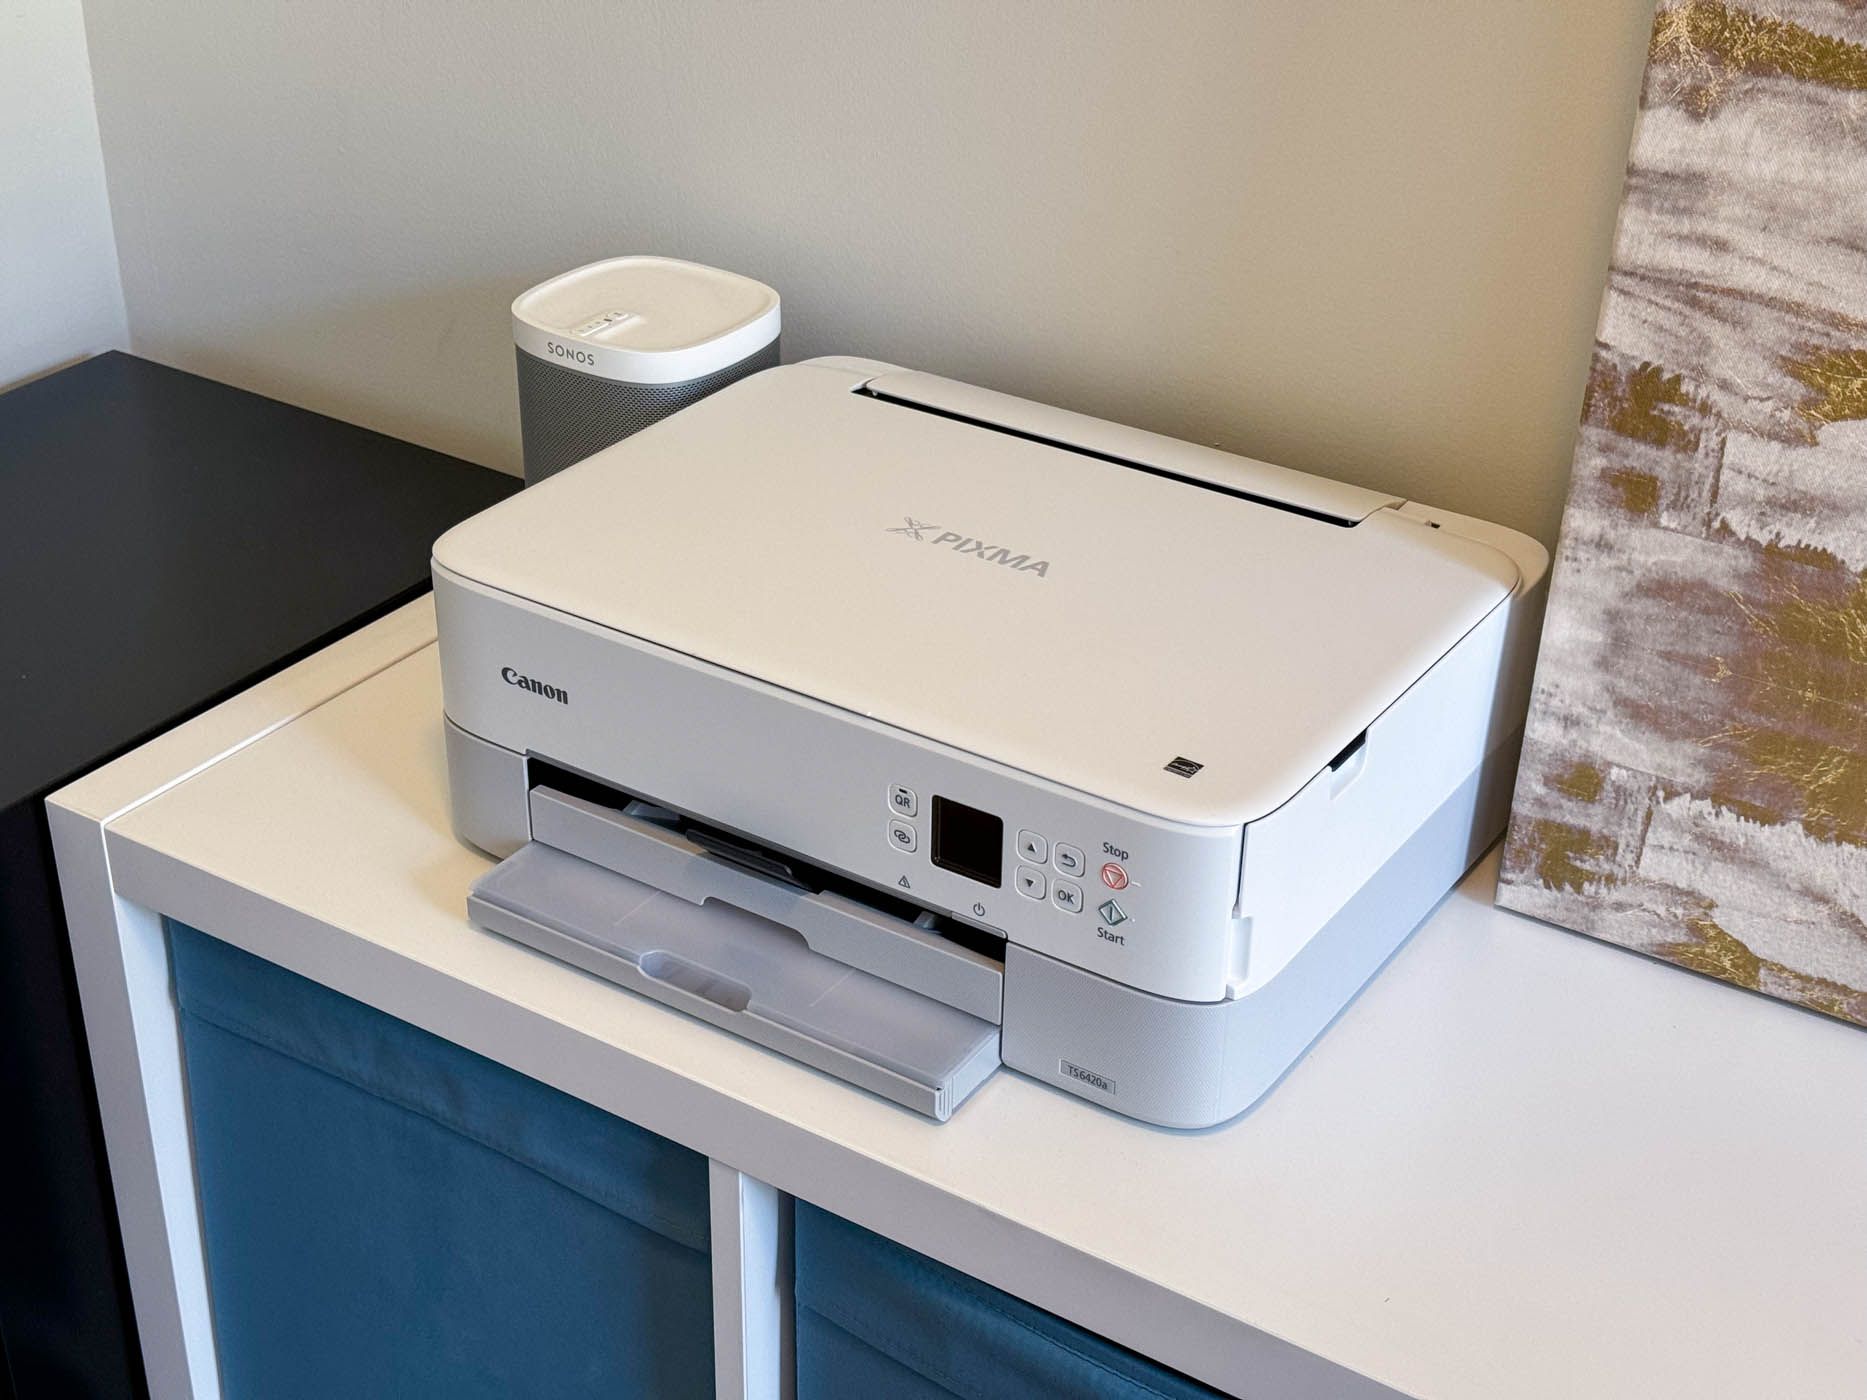
Many years ago, I had a wired-only Brother laser printer. I loved the printer, but hated that it had to be tethered to my computer via a USB cable. That’s when I discovered a Pi can convert a wired printer to wireless.
Simply by using CUPS (Common UNIX Printing System), you’ll be able to have your Raspberry Pi act as the wireless interface for your printer.
This takes a little more configuration, but it’s not too difficult to set up. You’ll follow typical Debian/Ubuntu installation instructions for CUPS to get it set up and configured.
Once you have the software side of things squared away on the Pi, simply plug your printer in over USB and set the printer itself up inside of CUPS. It’s not too difficult, and this entire process should take well less than an hour to complete.
If all goes well, your wired printer will now be available wirelessly to your Windows and macOS computers, as well as Android and iPhone.

Related
Don’t Buy a Print Server, Build One on Linux Instead. Here’s How
Building your own Linux print server can be a fun and cheap way to repurpose old hardware into something useful.
If you have more than an hour, here are five more Raspberry Pi projects that you could try out. They’ll take more time and resources to accomplish, but also bring a bigger reward at the end of the day, like a smart mirror…who wouldn’t want that?


