Do you want to start your own website without paying someone else to host it? You’re in luck! It’s actually easy to host a website on a Raspberry Pi, and you can have your site up and running this weekend.
You Don’t Need the Latest Pi to Host Your Website
While you might think you need a Raspberry Pi 5 to run a website, you can actually get away with hosting things on a much older system.
Personally, I have a Pi 3B deployed in my network stack as a web host. While it’s definitely not the fastest out there, it did easily handle running my Ghost blog. However, a Pi 4 would likely be a better option as it does have a bit more horsepower to start things up quicker. Really, any generation of Raspberry Pi (outside the Zero line) is perfect for hosting a small website.
If you want to upgrade to a larger website or have the capability of having thousands of concurrent users on the site, then you’ll need more power. However, for something small that’s just getting started, just about any Pi will do.
Docker Is Your Base of Operations
Docker is going to be what handles the entirety of the website and all services on your Raspberry Pi. Thankfully, it’s pretty easy to install.

Related
Docker for Beginners: Everything You Need to Know
Learn to use this incredibly popular development tool.
I’m going to assume you’re starting with a stock Raspberry Pi running Raspberry Pi OS, as that’s what I recommend running for web server tasks on your Pi.
To get up and running, you’ll start by getting Docker installed on your Raspberry Pi, which is pretty straightforward. Simply follow the Debian installation instructions for Docker, and you’ll be up in running in no-time.
Then, I reccomend getting Portainer deployed. I personally prefer running Portainer for my Docker hosts as it makes it easier to manage, but you could skip this step if you want to stick with just using traditional Docker Compose via the command line.
To actually deploy your website, I’ve built out a handy Docker Compose file that has everything you need in it. The Compose file will deploy Nginx Proxy Manager, ddclient, Ghost, and a MySQL database for Ghost to use, configuring everything outside your own API keys or passwords automatically.
There are a few key things that need to be modified in the Docker Compose file for it to work, however, which will be explained as I go through the article.
Pick Out Your Domain Name
Before you actually deploy your website or the Docker Compose file, you’ll need to pick out a domain, if you haven’t already.
There are many domain registrars out there, but the one that I use exclusively these days is Cloudflare. I used to use Google Domains, and even tried out Namecheap when Google Domains closed down. However, I landed on Cloudflare for a number of reasons—one of which is the free dynamic DNS service it provides.
So, head on over to Cloudflare and pick up that domain you’ve been eyeing. Or, if you already have a domain, that works too!
Set Up Dynamic DNS for Your New Domain
Whatever domain you have will need to support dynamic DNS. What dynamic DNS does is automatically update your domain’s IP address if your IP address changes.

Related
What Is Dynamic DNS (DDNS), and How Do You Set It Up?
Dynamic DNS is an old school geek hack that’s just as useful as ever.
Depending on who your internet service provider is, your IP address might not change for years (like mine on AT&T Fiber), or it could change daily (like Straight Talk’s 5G home internet). Regardless of who your ISP is, you’ll want a dynamic DNS setup deployed.
The way it works is a program runs on a computer or server in your home and connects to your domain registrar’s API, pushing your home’s IP address as a DNS record for your domain anytime it changes.
Cloudflare supports this natively through its zone-based editing API. For this, I’ve included the ddclient Docker container in the Docker Compose file to get your website up and running. However, the ddclient container also works with a number of other domain providers, so if you don’t use Cloudflare, check to see if yours is listed.
Configuring ddclient is pretty easy. You’ll want to start by first selecting the domain in Cloudflare, and then clicking “Get your API tokens” at the bottom right of the screen.
On the page that comes up, create a new API token that is able to edit zone DNS for the domain that you want to update. This will give you the API key, which you’ll then input into the ddclient.conf file. I’ve provided a sample file for you to use on my GitHub.
Inside the ddclient.conf file, you’ll also add your domain and any entries you want it to update. By default, it is only updating the @ entry of your domain, which is the root (so yourdomain.com). However, you can also add any other subdomains here that you might want to use, such as www, blog, store, or anything else.
Nginx Proxy Manager Handles Your Website Routing and SSL Certificates
Nginx Proxy Manager is how you’re going to handle routing the web traffic to the Ghost Docker container.
Once Nginx Proxy Manager is deployed, you’ll simply add a new proxy host with the domain that you want, the IP address of your Raspberry Pi, and the port that Ghost runs on. Port 2368 is the default.
Be sure to click over to the SSL tab and generate a new SSL certificate for your website too. This is crucial to provide secure browsing to your visitors.
Ghost Is the Best Beginner Website Platform
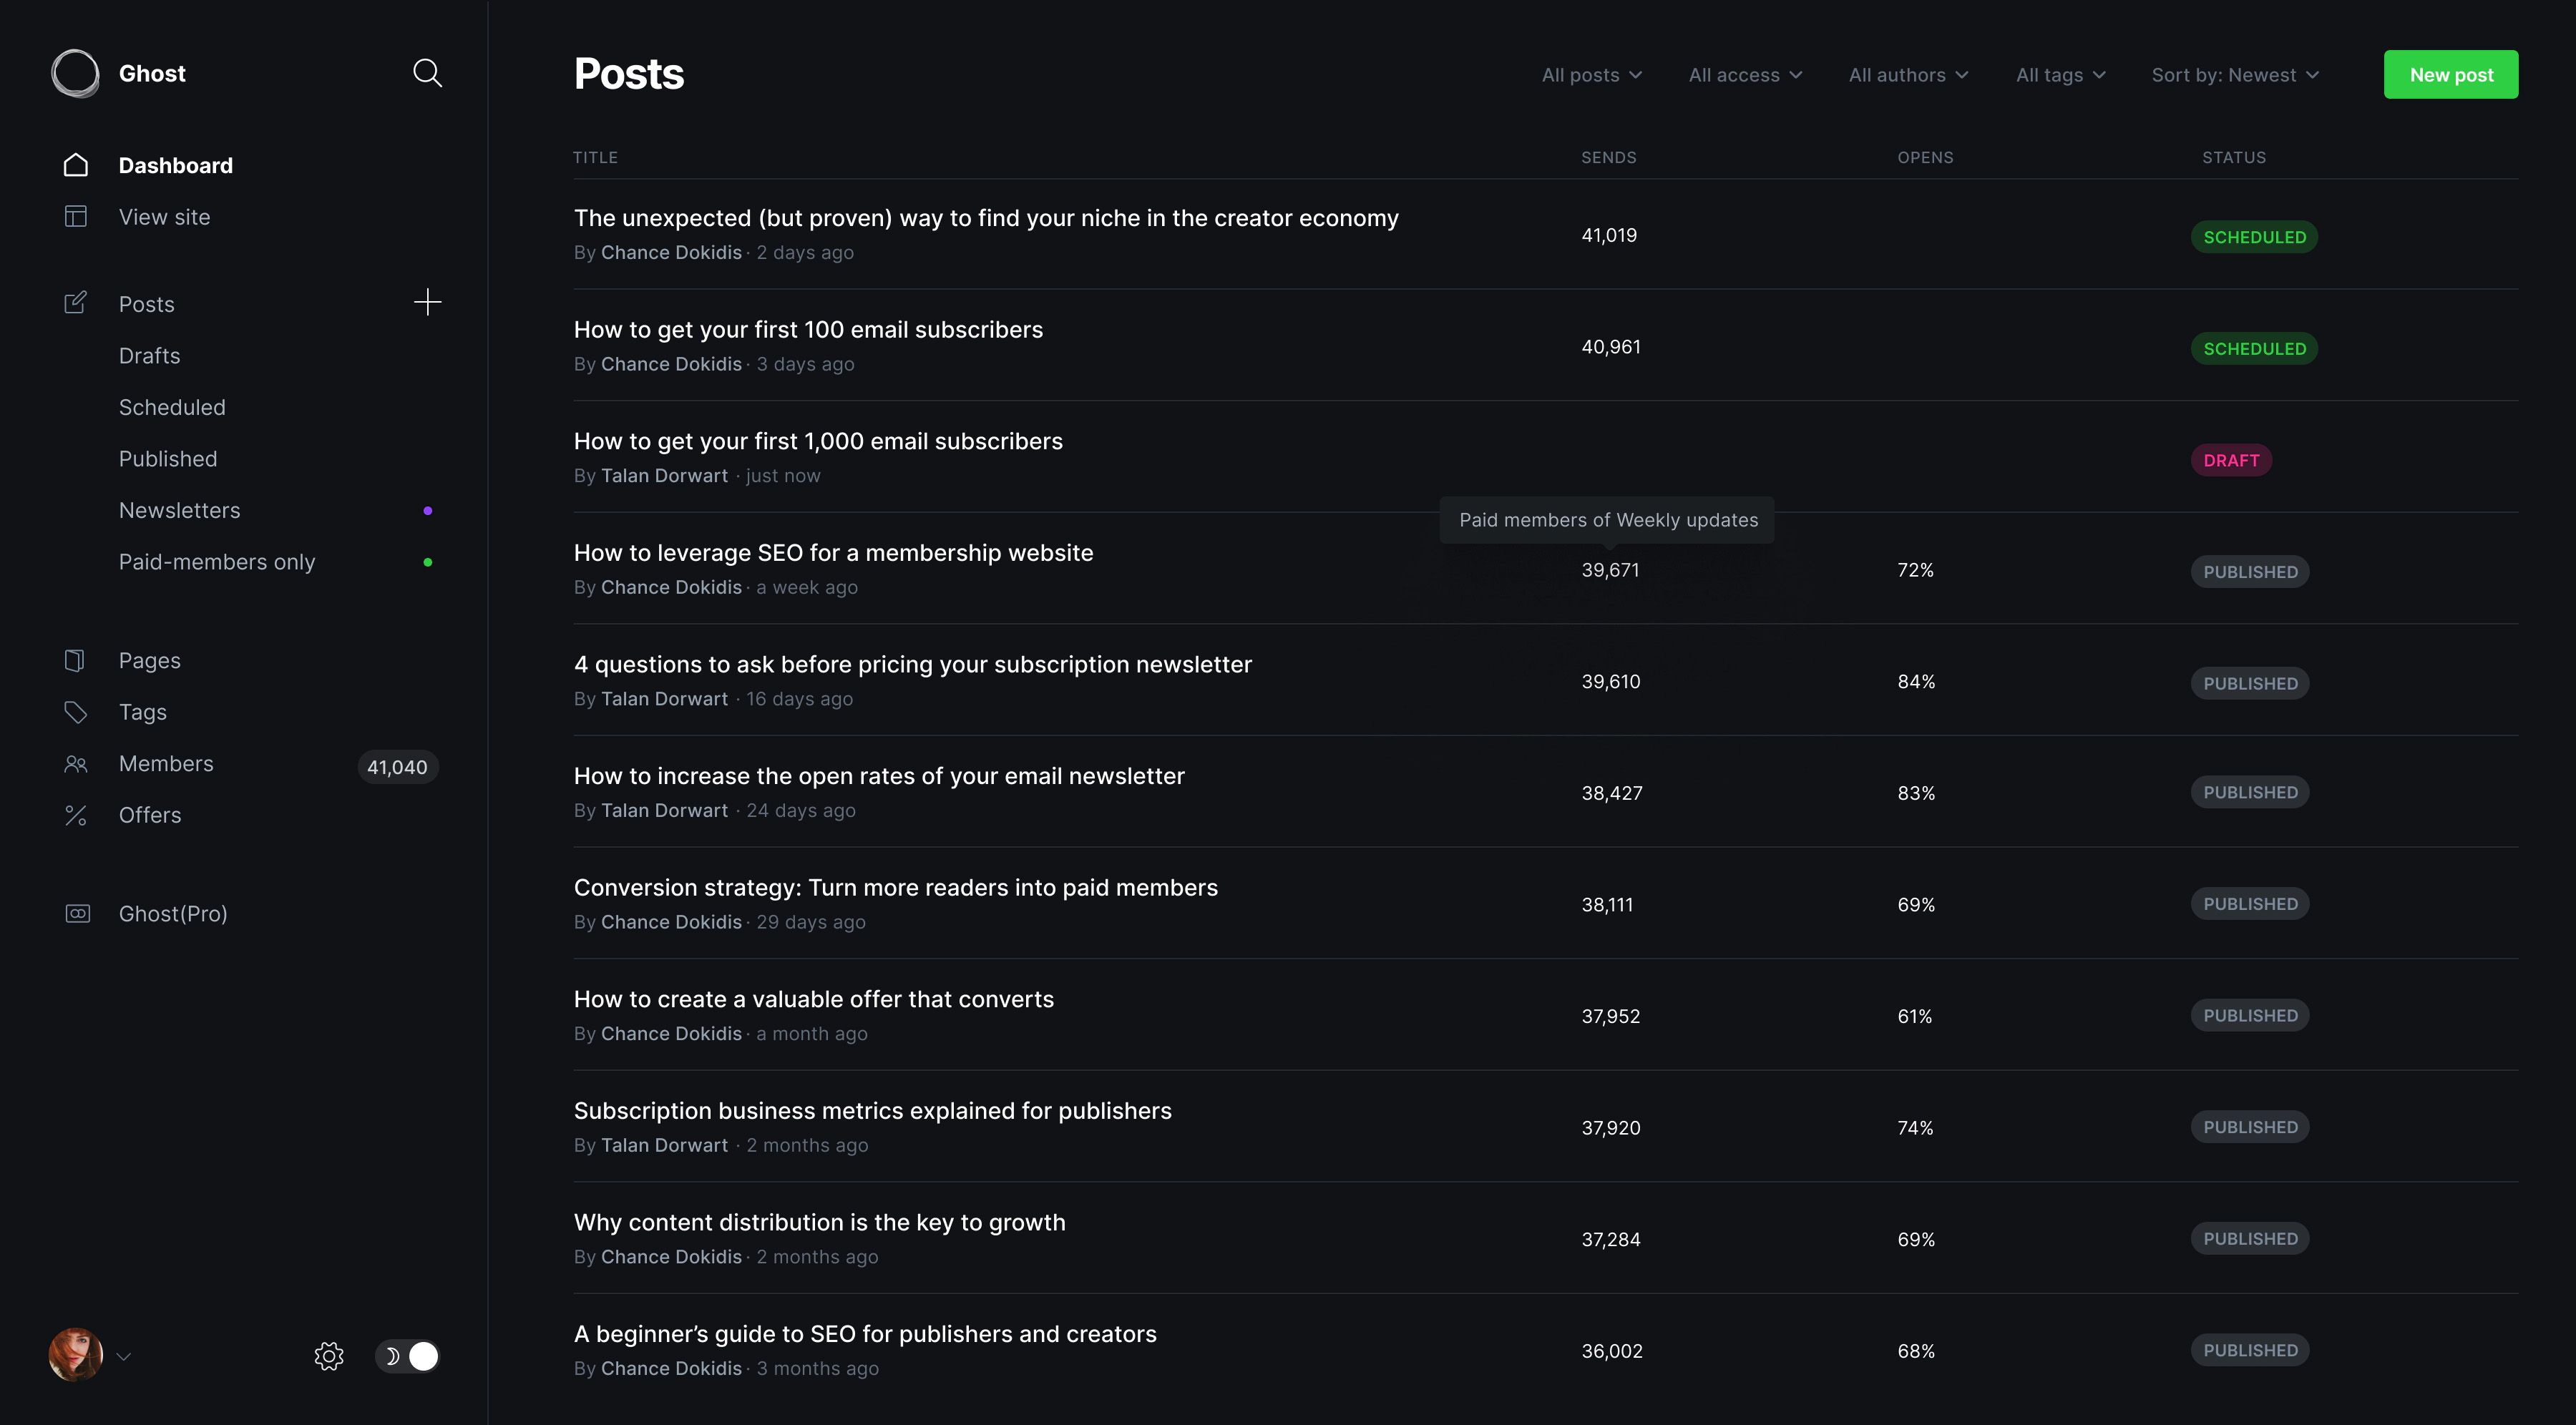
While there are many blogging and website platforms out there, I highly recommend starting with Ghost. It’s lightweight, easy to deploy, and simple to use. I’ve built many websites over the years, and Ghost is my personal go-to now.
Ghost utilizes the Markdown language for writing both pages and posts, and this is one reason I really enjoy using it. You don’t have to use Markdown, as it’s possible to format posts in-line. However, it’s just faster to type ## if you want an H2 heading, and so on.

Ghost is also extremely lightweight and fast. There aren’t a ton of plugins to weigh down your site like with other platforms, and it’s really designed to do one thing and do it well: be a website. There’s no e-commerce portion of it, and you can’t turn Ghost into a forum.
However, there’s one thing that Ghost does differently which really makes it shine: memberships. Ghost is designed to be a blog or website, but also a member site. You can set it up with Stripe and offer different membership tiers to grow your subscriber base. Think of it like Substack or Patreon, but hosted on your own server.
This alone is one of the reasons that I love Ghost. The option for subscriptions is there if you want it, but it isn’t required if you don’t need it. Personally, I’m building out two websites that will leverage the membership subscriptions portion of Ghost, and I think it’s a massive strength for the platform.
Before you finalize your stack and deploy your server, though, you need to make a few last-minute tweaks to the Compose file.
To start with, update the URL environment variable of the ghost-server container to be the URL for your website. You’ll also want to generate an actually secure database password and input that both into the ghost-server and ghost-db containers.
Once you get your ddclient.conf file all fixed up and update the Docker Compose file with your Ghost website and database information, you’re ready to go!
I do want to say that this part can take some time. I deployed my Ghost site on my Raspberry Pi 3 B, and it took around 15 to 20 minutes before it was fully up and running. The MySQL database in particular took a while to fully launch and be ready. So, just give it some time once you deploy it, and use that time to finalize some things in your network.
Make Sure Port Forwarding Is Configured on Your Router
In order to access your website from outside your local network, you’ll need to open a few ports on your router.
For accessing your new self-hosted website, we’re going to focus on two ports: 80 and 443. Exactly how you open those ports varies router to router, and, depending on your ISP, might not be possible.

Related
How to Port Forward on Your Router
Learn how to forward ports safely, and without exposing yourself.
However, once you get to the port forwarding area of your router, here’s what you’ll want to do.
Set up the external port 80 to forward to internal port 8080, and the external port 443 to forward to internal port 4443. These are the two ports used by Nginx Proxy Manager, and this is how you’ll actually be able to access your website from outside your local network.
That’s it! If you’ve followed this guide, your website should now be live! At this point, you’ll want to go through and start customizing the Ghost theme, building out your pages, and coming up with your subscription tiers—if that’s something you’re interested in doing.
Now, check out these seven Docker containers that power my home network. If you’re hosting your own website, one of my favorite services to have deployed on my network is Uptime-Kuma, as it can help monitor the uptime of your website without paying someone else to monitor it for you.


