Are you using Ubuntu and find it too minimal and bare bones? Heard about GNOME extensions making Ubuntu more feature-rich, but you don’t know which ones to install? Well, here are nine of my favorite GNOME extensions that I always install on Ubuntu.
GNOME extensions work like powerful plugins that you can use to augment your GNOME experience, either by adding useful features or by making visual refinements. Unfortunately, these aren’t available by default. You will first need to run the terminal command sudo apt install gnome-shell-extension-manager to install the Extension Manager.

This will give you a graphical app from where you can browse all the available extensions and then install whichever ones you like. Some of them are great, a few of them are bad, but most of them are “meh.” So to save you the research trouble, let me share with you my nine favorite GNOME extensions that I know you’ll love!
9
Just Perfection
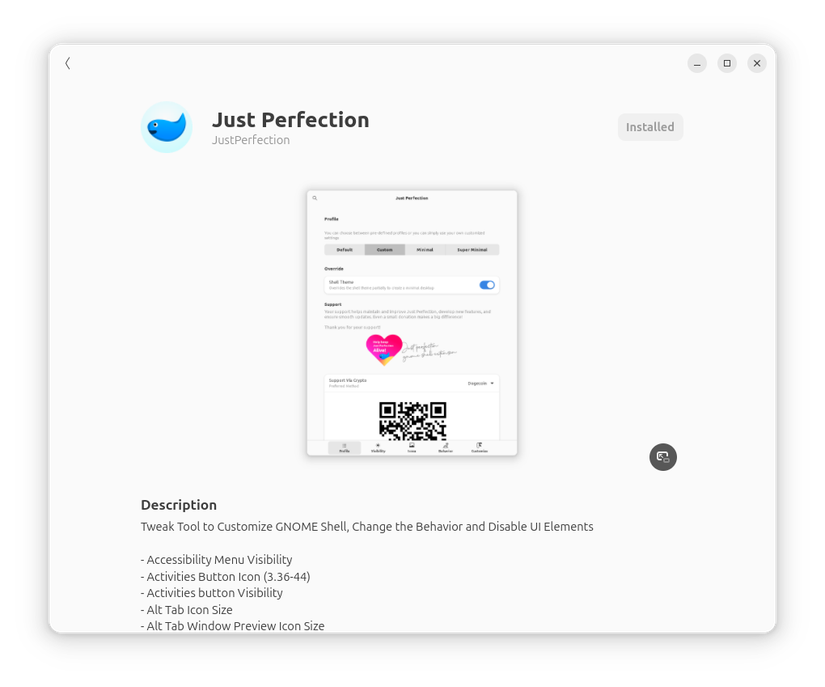
Just Perfection is a GNOME extension that lets you tweak virtually every aspect of the shell interface—and honestly, it’s the first thing I install on any fresh Ubuntu setup. GNOME’s defaults are fine, but they’re not my defaults, if you know what I mean.
Once installed, you need to go into the extension settings to start refining how GNOME looks. The first setting I always enable is “Override Shell Theme,” which refines interface elements for a more polished look. That said, if you’re running a custom GNOME theme, this might break it, so experiment carefully!
Next, I head to the Behavior tab and change the startup status from “Overview” to “Desktop.” This is because I prefer booting straight to my desktop and don’t want to see the Overview screen. I also disable the Activities button since it feels redundant with the other extensions I use.
Then, under Customization, I move the notification banner from top-center to bottom-end because notifications are way less distracting down there. Likewise, I move the OSD (On-Screen Display) position from center to bottom-center so that the volume or brightness sliders don’t clutter up my main workspace. I leave everything else at its default settings, but you can use the extension to tweak the panel sizes, icon sizes, padding—basically everything that makes GNOME feel like your desktop.
8
Blur My Shell
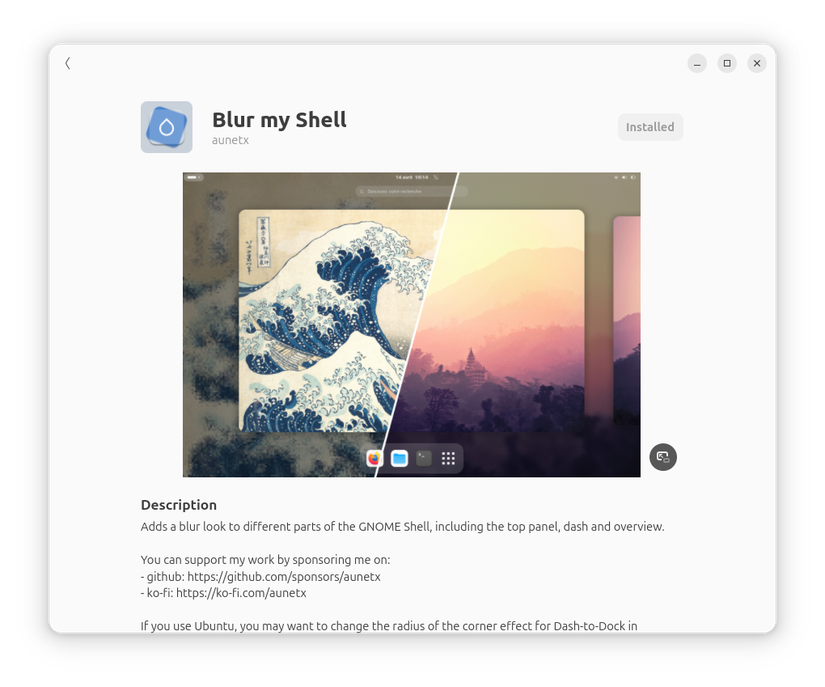
Blur My Shell is purely aesthetic—but sometimes that’s exactly what you need. This extension adds blur effects to GNOME’s shell and UI elements, making everything look significantly more polished and modern.
The most noticeable change happens in GNOME’s overview screen. By default, Ubuntu shows this dull gray background when you hit the Super key to visit the Overview screen. With Blur My Shell active, that entire interface takes on a beautiful blurred appearance of your active wallpaper. It’s a small change that makes a huge visual impact.
The extension also applies blur effects to Ubuntu’s panel and dock, giving them a more streamlined, translucent look. You can dive into the settings to control blur intensity and transparency levels, but I personally stick with the defaults.
Blur My Shell will change Ubuntu’s default dock and make it more rounded. If you don’t like how it looks, you can head to the “Panel” section in the extension settings and switch it back to “Default”.
7
Vitals
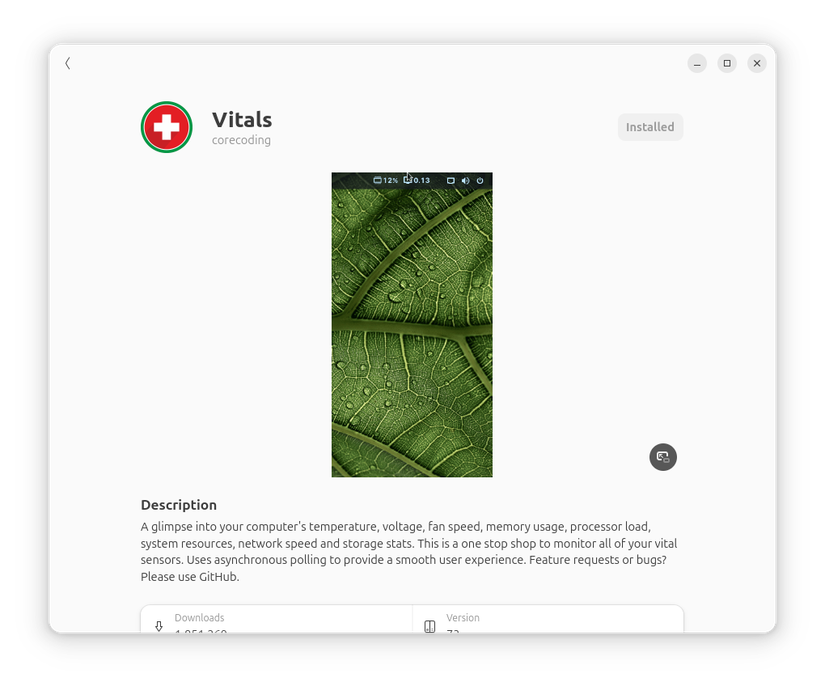
Vitals is a system monitoring extension that adds real-time stats to your top panel—and it’s become essential for my peace of mind. By default, it shows RAM usage, CPU usage, and network activity, but I’m most interested in RAM consumption and network monitoring.
I essentially use it to monitor any sudden changes. For example, if I’m working on something simple but suddenly see the network indicator going wild with downloads, I know something fishy is happening in the background. The same logic applies to unexpected CPU or RAM spikes during casual use—it’s my early warning system for potential issues.
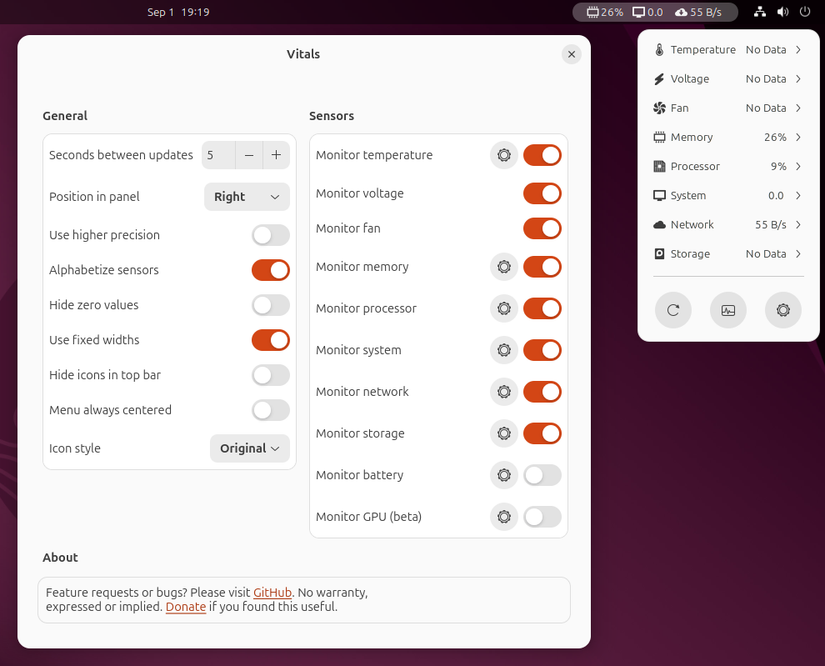
Having these numbers constantly visible on my top panel keeps me proactive about system health. I don’t have to open a separate monitoring app or wonder what’s consuming resources—it’s all right there. Additionally, clicking the Vitals indicator will drop a detailed view with additional system statistics. You can head into the extension settings to customize which sensors to display, their position (I keep mine on the right side), and update intervals.
6
Clipboard Indicator
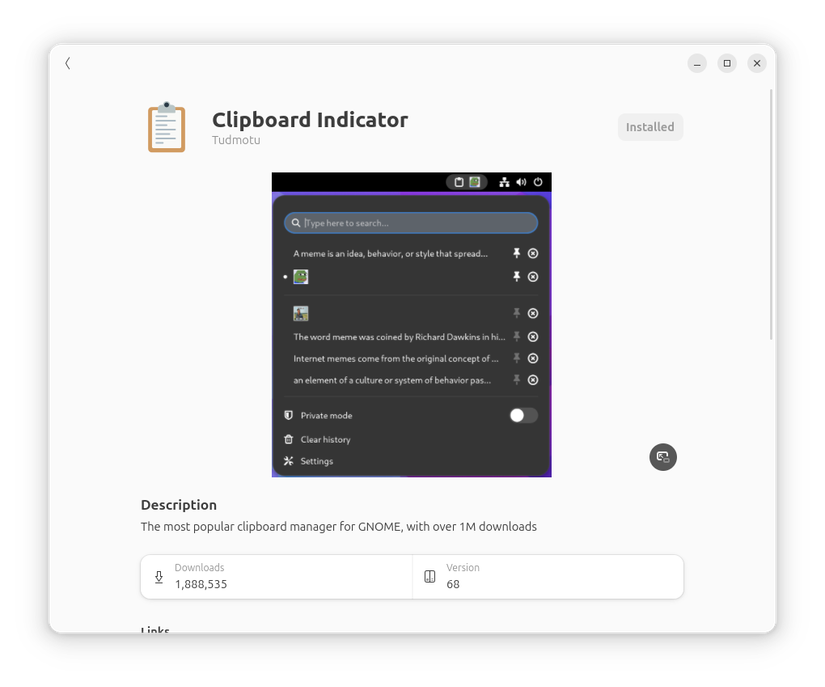
Clipboard Indicator is a clipboard history manager that adds an icon to your top panel, letting you go through everything you’ve recently copied. Now, I’ll be honest—I personally in the past used CopyQ, which is an app not an extension, because I find it more feature-complete. However, CopyQ has some annoying issues with Wayland, and if you’re running Wayland (which Ubuntu defaults to now), Clipboard Indicator is the more stable alternative.
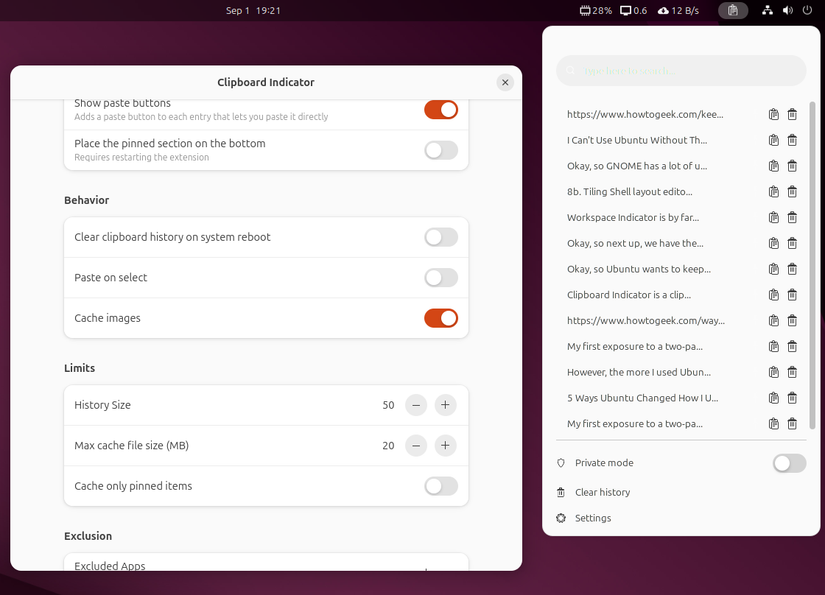
Coming back to the extension, it’s beautifully simple. Once activated, you get a panel icon that you can click to see a dropdown of all your recently copied text, ready to paste again. You can also search through your clipboard if you have a long clipboard history. Through the extension settings, you can adjust how many items to save, whether to clear history on reboot, and even remove whitespace around clipboard entries. I personally bumped the history size up to 50 items and set the max cache file size to 20MB—that’s more than enough for my workflow.
5
Tray Icons Reloaded
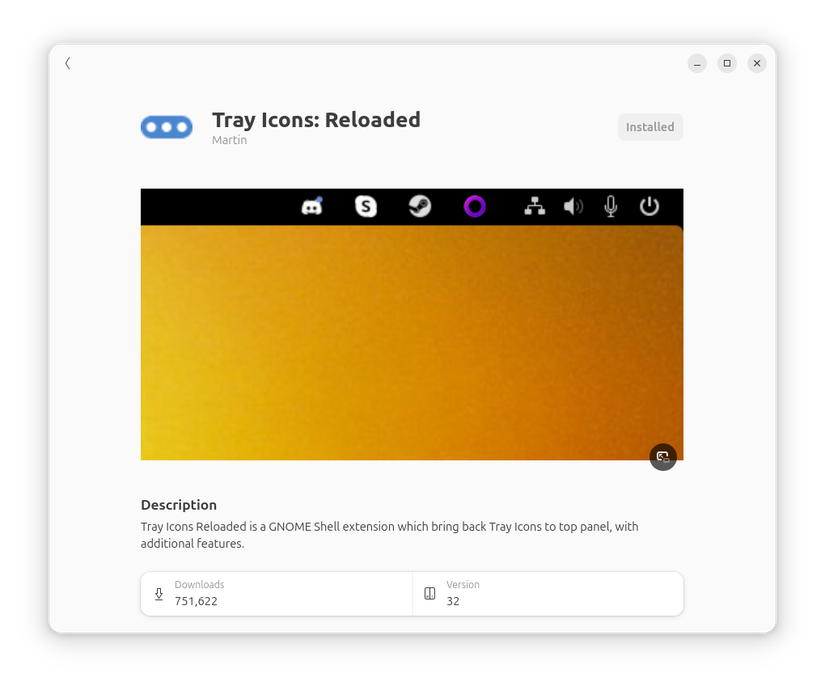
System tray icons are those small indicators that show which apps are running in the background. You have them on Windows right beside the time and date. They’re also pretty common on other Linux distros, but on Ubuntu, they are absent. This is because GNOME wants to keep the user experience as streamlined, minimal, and focused as possible. System tray icons can clutter up the interface and can create distractions by showing notification badges.
However, that’s precisely the reason I want to have them on my desktop. I want to know when Slack has a message or when Discord needs my attention without having to Alt+Tab through everything. Those little notification dots are genuinely useful for staying on top of communication apps while I’m focused on other work.
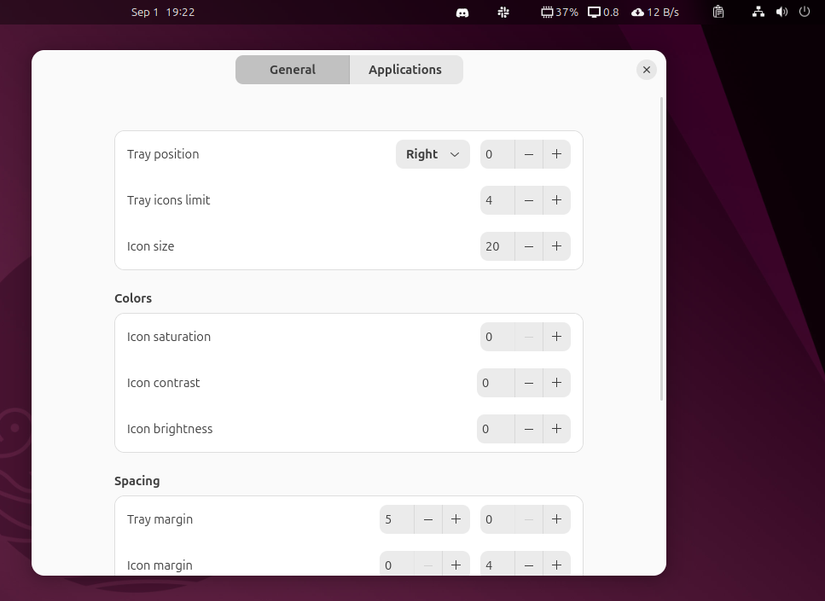
Tray Icons Reloaded brings back this functionality perfectly. I prefer its defaults and don’t change anything, but you can go into the extension settings to change the position of the tray icons while also customizing icon limits, sizes, and spacing.
4
App Icon Taskbar
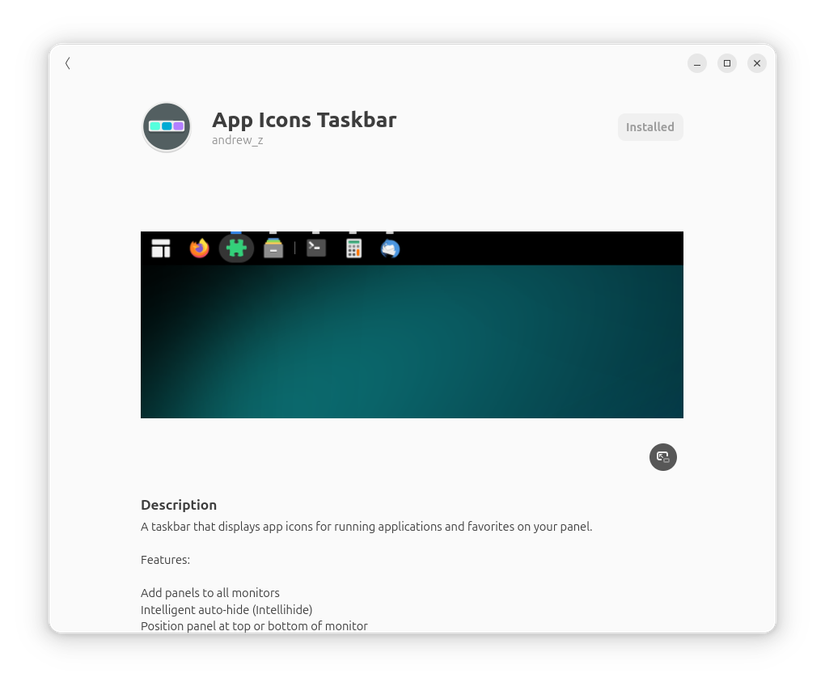
App Icon Taskbar hides Ubuntu’s default dock and creates an app taskbar directly on the top panel instead—and honestly, it feels like a much better use of space. Now, there is another GNOME extension: Dash to Panel, that does something similar, but I prefer this extension because it gives me more granular control and flexibility over the panel layout.
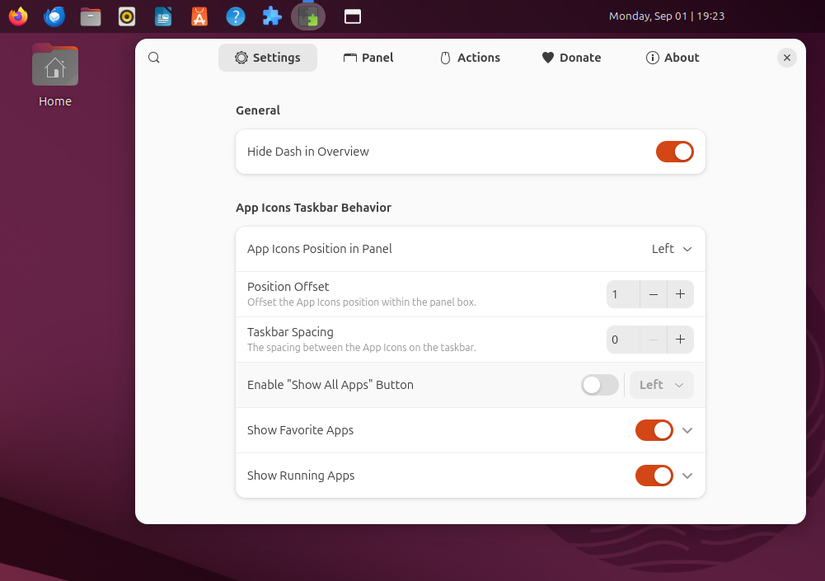
By default, your app icons show up on the left side of the panel, but you can change their placement from the extension settings. One layout I think works great for ultrawide monitors—or if you want that Windows 11 vibe—is putting the taskbar in the center with the clock on the right. The extension also lets you customize app icon sizes, notification indicators, icon badges, and plenty more. It’s genuinely feature-rich and has completely replaced Dash to Panel in my workflow.
3
Workspace Indicator
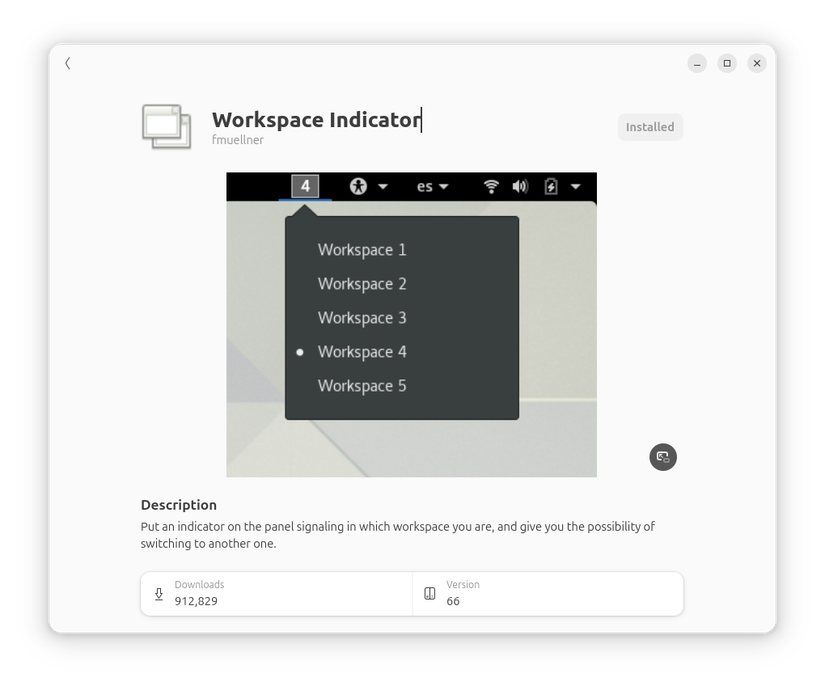
Workspace Indicator is one of the most useful extensions I’ve used on Ubuntu—it’s a massive productivity boost and quality-of-life improvement. This extension visualizes all your current workspaces right on the top panel, letting you click between different virtual desktops instantly.
You can also see outlines of the windows open inside each workspace. This gives you immediate awareness of how busy each workspace is and what’s running where. What’s more, you can even drag and drop windows between workspaces directly from the panel indicator.
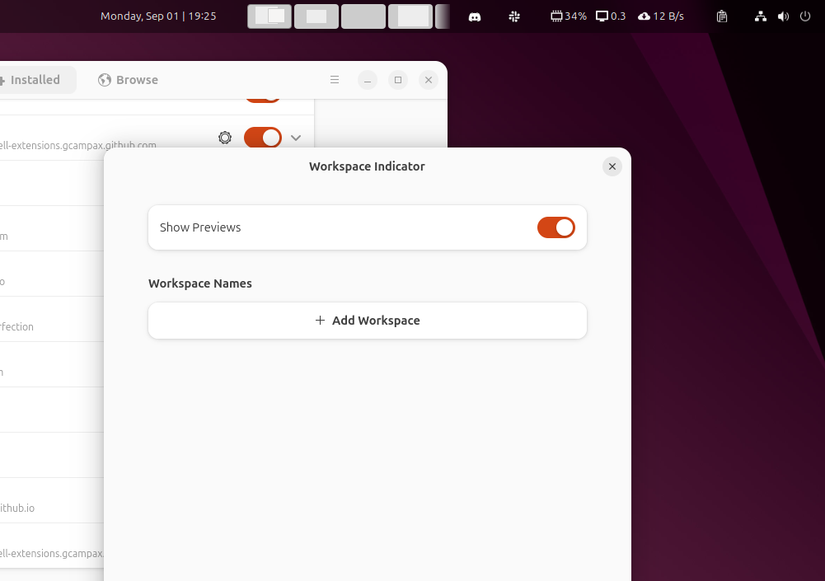
This has completely streamlined my workflow. Instead of hitting the Super key to open overview, then clicking and dragging windows around, everything is always visible and accessible on the top panel.
2
Tiling Shell
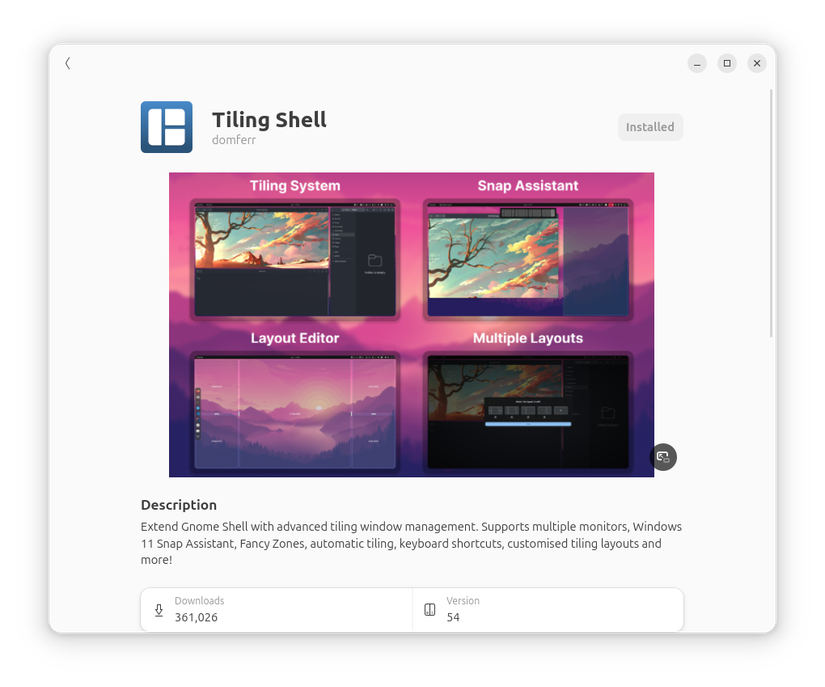
GNOME has several powerful tiling extensions, but Tiling Shell is my personal favorite. It’s a genuine productivity booster, especially if you’re running an ultrawide monitor and juggling multiple windows that need clean organization. The extension adds a small panel indicator that reveals different layout options when clicked. You can create custom layouts with granular control over zone sizes and placement, defining exactly how many zones you want and how large each should be.
Now, instead of using the panel indicator, you can also drag a window to the top screen edge to bring up the layout picker and pick a zone to tile your window. Alternatively, you can hold Ctrl while moving a window to trigger the default layout overlay and tile the window to a specific zone.
It’s an incredibly quick and convenient way to organize everything into a clean, structured desktop layout that actually makes sense for productive work. Coming to the extension settings, they offer tons of customization options, but I stick with the defaults since they work great out of the box.
1
GSConnect
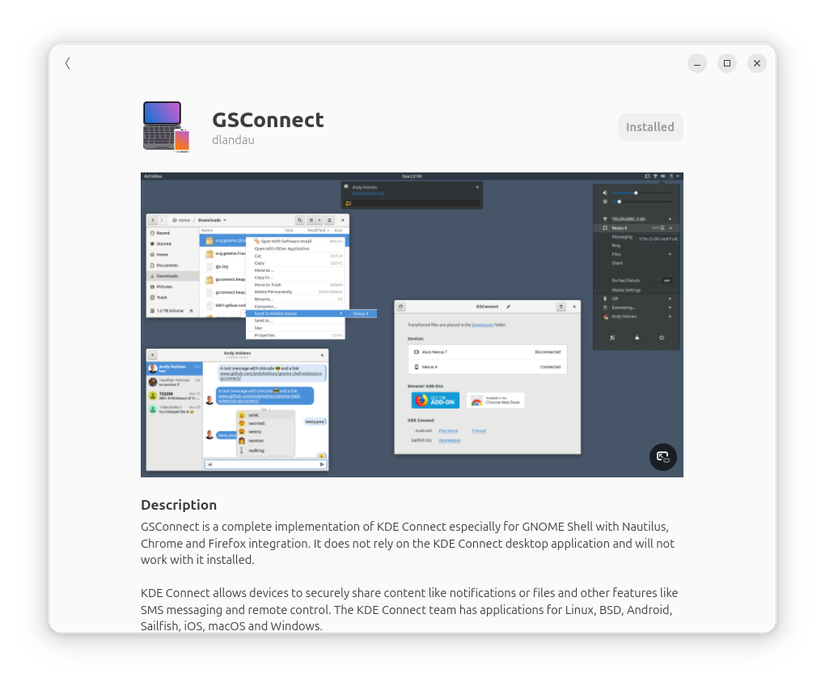
GSConnect is the one extension I absolutely can’t live without when using Ubuntu or any GNOME-based distro! It’s essentially GNOME’s version of KDE Connect, and if you’ve used KDE Plasma before, you already know how game-changing this can be. GSConnect pairs your Ubuntu PC with your Android phone over Wi-Fi, enabling seamless file transfers, using your phone as a trackpad to control your computer, typing on Ubuntu using your phone’s keyboard, and even executing terminal commands remotely.
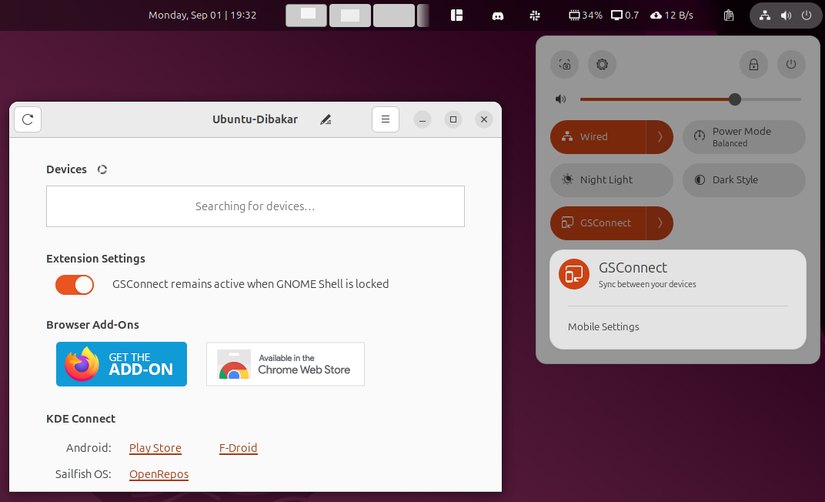
Now, to set it up, you need to first install the GSConnect extension on your Ubuntu PC and the KDE Connect app on your phone. Then you open the GSConnect extension settings and KDE Connect and pair the two devices. For more details, you can check out this comprehensive guide about syncing your Linux PC with your Android phone using GSConnect.
There you have it—my nine favorite GNOME extensions without which Ubuntu feels unusable to me. From helping you with window management to customizing the user interface, these extensions can completely transform how you use the popular distro. I hope this gave you an idea of how customizable GNOME and, in turn, Ubuntu can be using extensions and encouraged you to explore more extensions to supercharge and personalize your Ubuntu PC.


